Tutorial: Planar Mapping Autodesk Maya 2011
Step 1: Select the faces from the Front and Back of the Model.
Step 2: Go to
CreateUVs in the
Polygon Tab. Press the setting button in
Planar Mapping look at the direction the
XYZ axis is in. Press the
X axis the
Project. Or for a faster way hold
Shift and press
Right-click over the
Model, go down to
Mapping and press
Planar Map X.
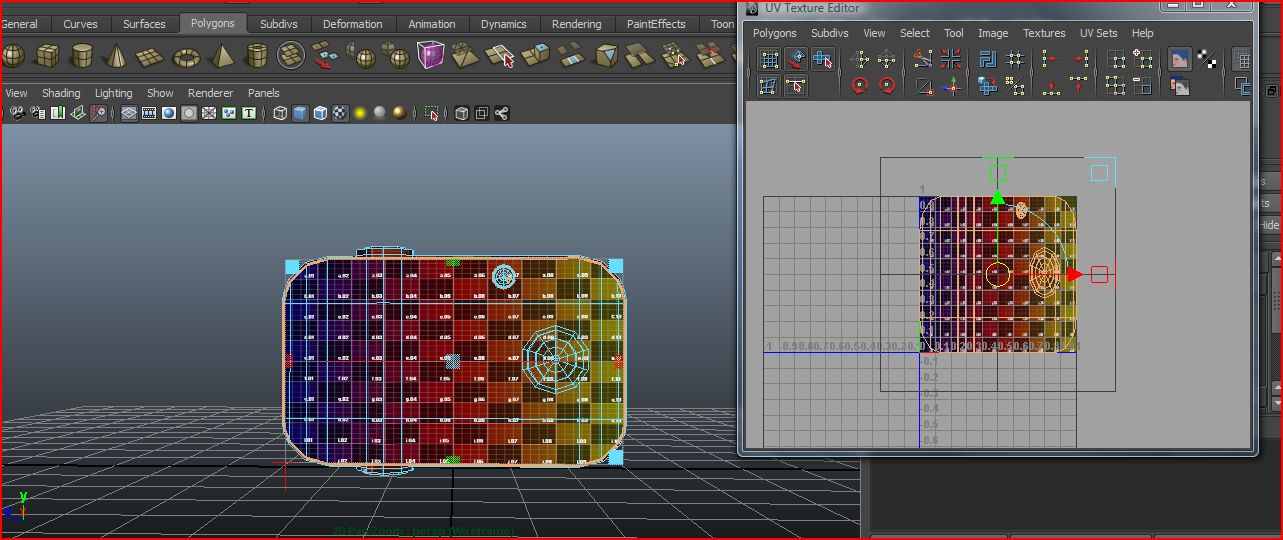
Step 3: The Front and Back are separated. Move then and adjust then to you liking. Repeat the process with Z axis and Y axis.
And this should be the result.
Thank you for taking the time to read.


Comments
Post a Comment